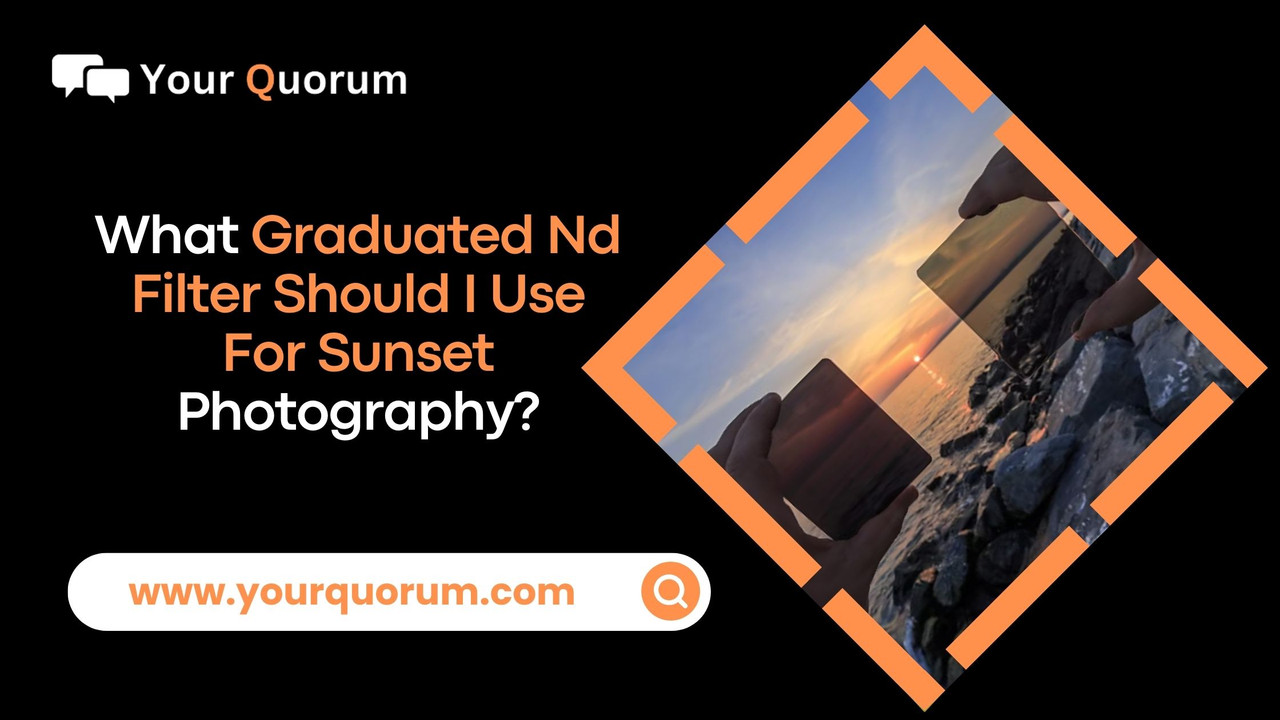
What Graduated Nd Filter Should I Use For Sunset Photography? Landscape photographers often employ graduated ND (neutral density) filters in difficult lighting situations. This article will explain what GND filters are, when and why to use them, how to utilize them in your photography, and what kinds are available. Whether you're a novice photographer hoping to improve your abilities or a seasoned photographer hoping to pick up new tricks, this tutorial will provide insightful advice on using graduated ND filters.
What Graduated Nd Filter Should I Use For Sunset Photography?
What is a GND filter?
A graded neutral density (GND) filter is a kind of lens filter for cameras that is used to adjust exposure in certain areas of the picture. Graduated ND filters feature a gradient that runs from dark to clear, in contrast to standard ND filters, which darken the whole picture uniformly. This enables the sky, or any other selected area of the image, to be what graduated nd filter should i use for sunset photography.
Graduated ND filters are available in a range of strengths, often denoted by stops (e.g., 1-stop, 2-stop, 3-stop), which represent the amount of light that the filter blocks. They also feature distinct transitions between the transparent and dark sections, which this article will go over in more detail below.
Why is it that landscape photographers use graded ND filters?
Assume that you are taking pictures of the ocean's sunset. The stunning colors of the sunset may be lost if you have an ocean that is properly exposed but an almost white sky due to the lack of a graded ND filter. You may get a picture that captures the vivid sky and the intricate ocean detail by using a graded ND filter.
When to take landscape photos with graded ND filters?
Gradient neutral density filters are useful only in situations when your image has a large dynamic range, or when there is a strong contrast in the scene. Adding a GND filter won't offer much benefit if your scene already has uniform illumination throughout.
The best times to utilize them are as follows:
Seascapes: Photographing at a beach or next to water usually results in a sharp horizon line. The reflecting water may be well-exposed while the sky is darkened using a graded ND filter.
Due to the stark contrast between the brilliant sky and the darker earth, sunrises and sunsets may be challenging to capture on camera. Using a graded ND filter allows you to capture all of the color spectrum without sacrificing detail.
Scenes with mountains and forests: When sunlight filters through trees or illuminates mountains against a bright sky, a graded neutral density filter may assist balance the what graduated nd filter should i use for sunset photography.
A step-by-step guide on using graded ND filters
- While using graded ND filters is not hard, getting a decent photo does take some experience. To begin, refer to these guidelines for the proper usage of a graded neutral density filter:
- Select appropriate filter for the given scenario. Select from soft, harsh, reverse, moderate, or center graded ND filters based on the situation. Choose the transition that best fits you by observing the light source and the horizon line.
- Determine the dynamic range of the scene:
- Take a meter reading while pointing your camera toward the foreground. Take note of the ISO, shutter speed, and aperture settings for exposure.
- Take a reading on your meter by pointing your camera toward the sky. Take note of the exposure parameters.
- Examine the two readings side by side. The strength of the graduated ND filter you need to employ is shown by the difference in stops between the sky and the foreground. Typically, the bright region is exposed one stop more than the dark foreground. For example, if the sky is three stops brighter than the foreground, the ideal GND to use to preserve a natural appearance is two stops.
- To connect the filter, place it inside the holder that is fastened to your lens. To line the gradient with the horizon, slide the filter up or down to change its location. Simply screw the circular graded ND filter onto the front of your lens if you're using one.
- Arrange your photo and make sure the filter is in the right place. Align the filter's transition line with the horizon in situations with a distinct horizon. To ensure that the gradient covers the brightest parts without too darkening the foreground, set the filter for uneven horizons.
- Using the foreground camera settings from step 2, take the picture. Try varying the stops and placements of the filter until you get the ideal balance.
- Using a tripod will help you capture the finest images when using graded ND filters since it will make it easier to work with and enable you to place the filter correctly.
 Torikatu Kala
What Graduated Nd Filter Should I Use For Sunset Photography? Landscape photographers often employ graduated ND (neutral density) filters in difficult lighting situations. This article will explain what GND filters are, when and why to use them, how to utilize them in your photography, and what kinds are available. Whether you're a novice photographer hoping to improve your abilities or a seasoned photographer hoping to pick up new tricks, this tutorial will provide insightful advice on using graduated ND filters.
What Graduated Nd Filter Should I Use For Sunset Photography?
What is a GND filter?
A graded neutral density (GND) filter is a kind of lens filter for cameras that is used to adjust exposure in certain areas of the picture. Graduated ND filters feature a gradient that runs from dark to clear, in contrast to standard ND filters, which darken the whole picture uniformly. This enables the sky, or any other selected area of the image, to be what graduated nd filter should i use for sunset photography.
Graduated ND filters are available in a range of strengths, often denoted by stops (e.g., 1-stop, 2-stop, 3-stop), which represent the amount of light that the filter blocks. They also feature distinct transitions between the transparent and dark sections, which this article will go over in more detail below.
Why is it that landscape photographers use graded ND filters?
Assume that you are taking pictures of the ocean's sunset. The stunning colors of the sunset may be lost if you have an ocean that is properly exposed but an almost white sky due to the lack of a graded ND filter. You may get a picture that captures the vivid sky and the intricate ocean detail by using a graded ND filter.
When to take landscape photos with graded ND filters?
Gradient neutral density filters are useful only in situations when your image has a large dynamic range, or when there is a strong contrast in the scene. Adding a GND filter won't offer much benefit if your scene already has uniform illumination throughout.
The best times to utilize them are as follows:
Seascapes: Photographing at a beach or next to water usually results in a sharp horizon line. The reflecting water may be well-exposed while the sky is darkened using a graded ND filter.
Due to the stark contrast between the brilliant sky and the darker earth, sunrises and sunsets may be challenging to capture on camera. Using a graded ND filter allows you to capture all of the color spectrum without sacrificing detail.
Scenes with mountains and forests: When sunlight filters through trees or illuminates mountains against a bright sky, a graded neutral density filter may assist balance the what graduated nd filter should i use for sunset photography.
A step-by-step guide on using graded ND filters